This guide will take you through the steps of installing your 1-grid SSL certificate. Please note that this process applies to those with cPanel hosting packages. If you have a Website Panel (.Net) package SSL must be installed by our Support Team.
Step 1– Login to your 1-grid Customer Zone.
- Go to https://1-grid.com/client/clientarea.php
- Enter your registered email address and password provided during your application.

Step 2– Click Services

Step 3– Click Manage Product next to your SSL certificate. If you cannot see the SSL certificate, Comodo would have sent an email with a token.

Step 4– Copy the token.

Step 5 – Click on “Manage Product” next to that domain’s cPanel account.

Step 6- Click on Login to cPanel

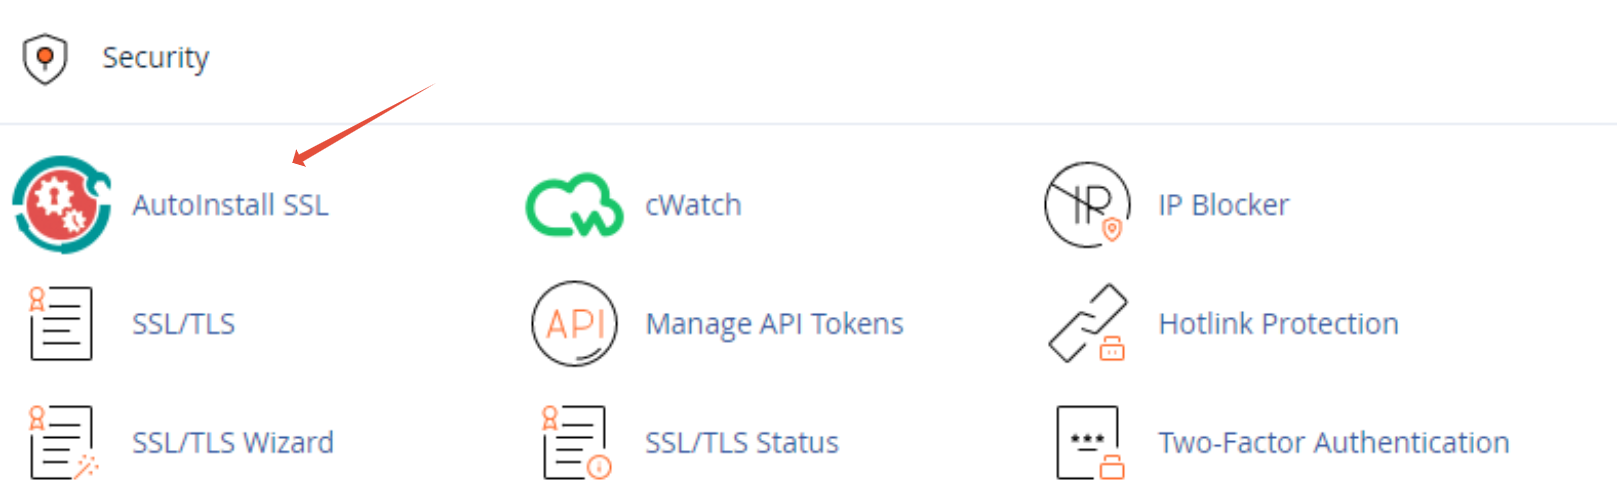
Step 7 – Click on AutoInstall SSL
Step 8 – Paste the SSL token in the field and click on Verify Token

Step 9 – Complete the required information and click submit.

Step 10 – cPanel will now begin the installation.

That’s it! You’ve successfully installed your SSL certificate.