This article provides you with steps to add your website domain to cWatch
- You need to add websites to cWatch to enable protection and to use the content delivery network (CDN).
- The number of sites you can add depends on your license. See Purchase a License for details about license types.
- Once added, you can configure threat monitoring and CDN settings for each site.
Add a new domain
- Login to cWatch at https://login.cwatch.comodo.com/login with your username and password.
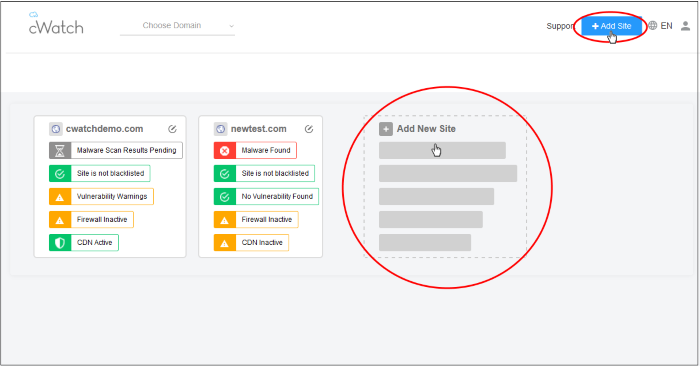
The dashboard shows all protected websites as a tile. Each tile provides an at-a-glance summary of any problems on the site.
- Click the ‘Add New Site’ tile, or the ‘Add Site’ button at the top-right.
The ‘Add Websites’ wizard starts:
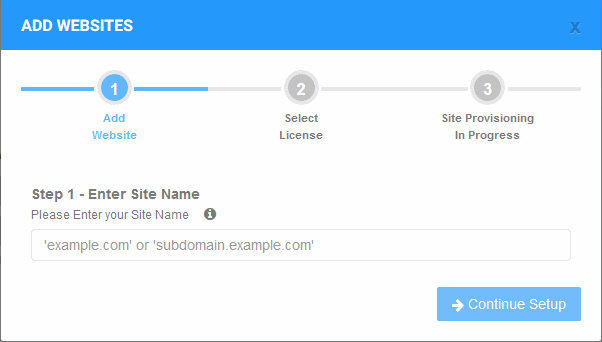
The wizard has three steps:
- Step 1 – Register your website
- Step 2 – Select License
- Step 3 – Site Provisioning in Progress
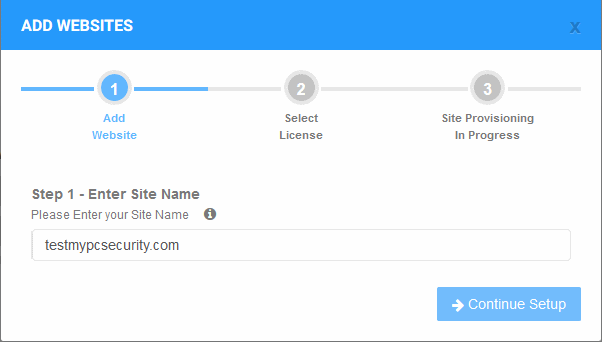
Step 1 – Register your website
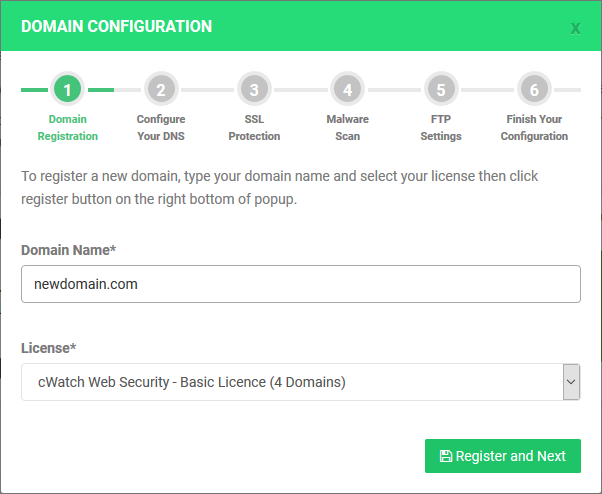
- Enter the domain name of the website you want to register. Do not include ‘www’ at the start.
Step 2 – Select License
Next, choose the type of license you want to activate on the site.
- cWatch features vary according to license type. See License Types for more details.
- The drop-down menu lets you select from all licenses you have purchased.
- Choose the type of license you wish to associate with the domain:
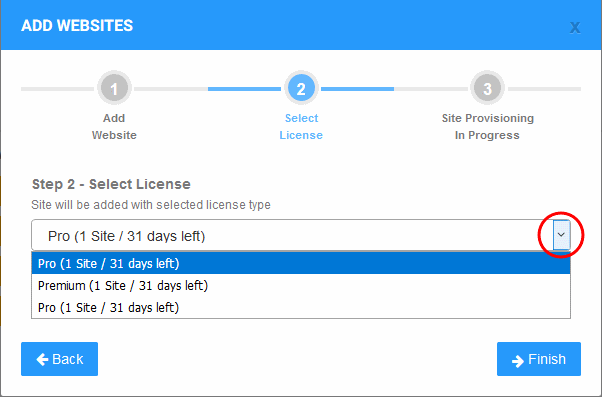
- Click ‘Finish’ to proceed
- See Purchase a License if you need help buying more licenses.
Step 3 – Finalization
The final stage is for cWatch to provision your site:
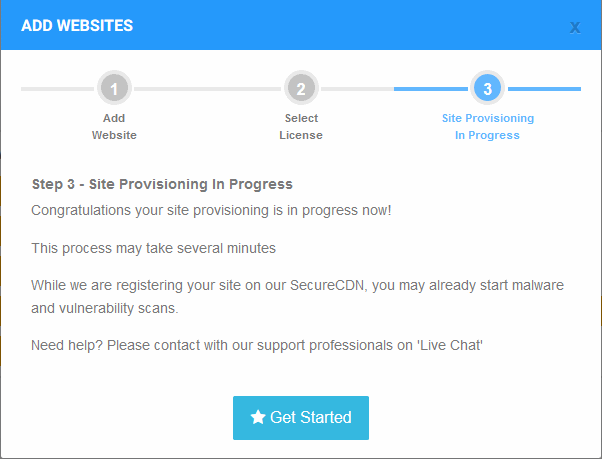
You will see the following confirmation message when registration is complete:

- Next up is to enable cWatch protection on the site
- Click ‘Get Started’ to open the ‘Overview’ page for the website
- The overview page lets you configure malware and vulnerability scans, firewall rules, CDN settings, and more
- This is covered in more detail in the Website Overview section.
|
Important Note:
Tip: You can skip this step for now and add the CNAME to DNS later. See DNS Configuration for help with this. |
- Repeat the process to add more websites.
Remove Websites
You can remove any site that you no longer want to protect with cWatch.
- Select the website from the drop-down at the top-left of the dashboard
- Click the ‘Overview’ tab (or click the hamburger button and select ”Overview’)
- Click ‘Remove Site’ at the bottom-left of the interface:
A warning message is shown.
- Enter the domain name of the site you want to delete then click ‘Remove Site’.
|
Note:
|